550 Squadron
W/O T A Lloyd and Crew
The W/O Lloyd crew were posted to 550 Sqdn from No. 1. L.F.S. w.e.f. 27/2/44:
- W/O T A Lloyd DFM (P)
- Sgt T P Burke DFM (F/Eng)
- F/Sgt D M Stephen RCAF (Nav)
- F/O E Yaternick RCAF (A/B) [PoW]
- Sgt R L G Moore DFM (W/Op)
- Sgt J G Pearce (MU/AG) [Evd]
- Sgt A C Crilley (R/AG) [PoW]
On the Mailly raid (3rd/4th May 1944) W/O Lloyd ordered his bomb-aimer and gunners to bale out (further detail below in the section on the station narrative and de-briefing reports). Two became POWs and one, Sgt Pearce, evaded capture and made his escape back to the UK via Gibraltar (the 12th July entry in the Sqdn ORB records Sgt Pearce had returned to the UK).
After this event the Lloyd crew continued to fly ops but with replacement crew members, some of whom transfered in to the Squadron specifically for re-crewing with W/O Lloyd. These included:
Crew Photos
Many thanks to the Pearce family for making these photographs available (via Dave Cole).
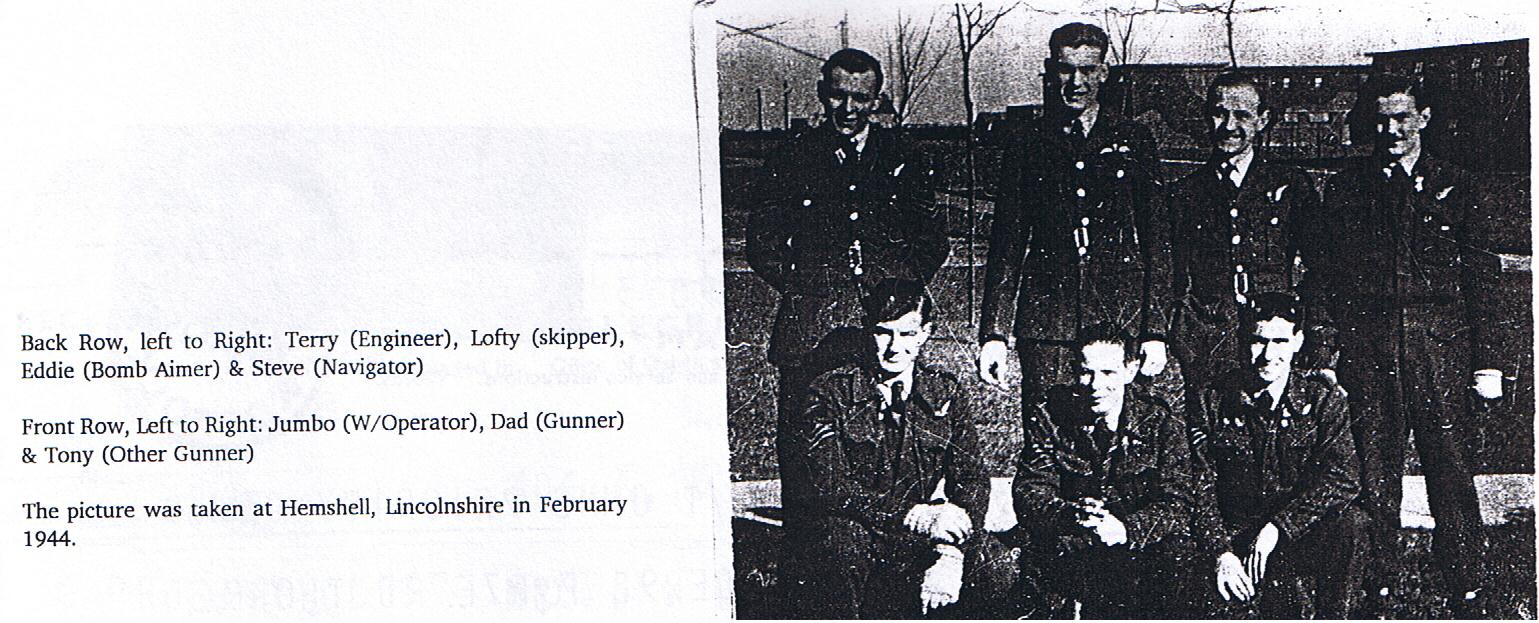
W/O Lloyd crew, RAF Hemswell, February 1944 Identifications in the photo: Back row L-R: Sgt T P Burke (F/Eng), Lloyd (P), F/O E Yaternick (A/B), F/Sgt D M Stephen (Nav) Front row L-R: Sgt R L G Moore (W/Op), Sgt J G Pearce (MU/AG), Sgt A C Crilley (R/AG) |
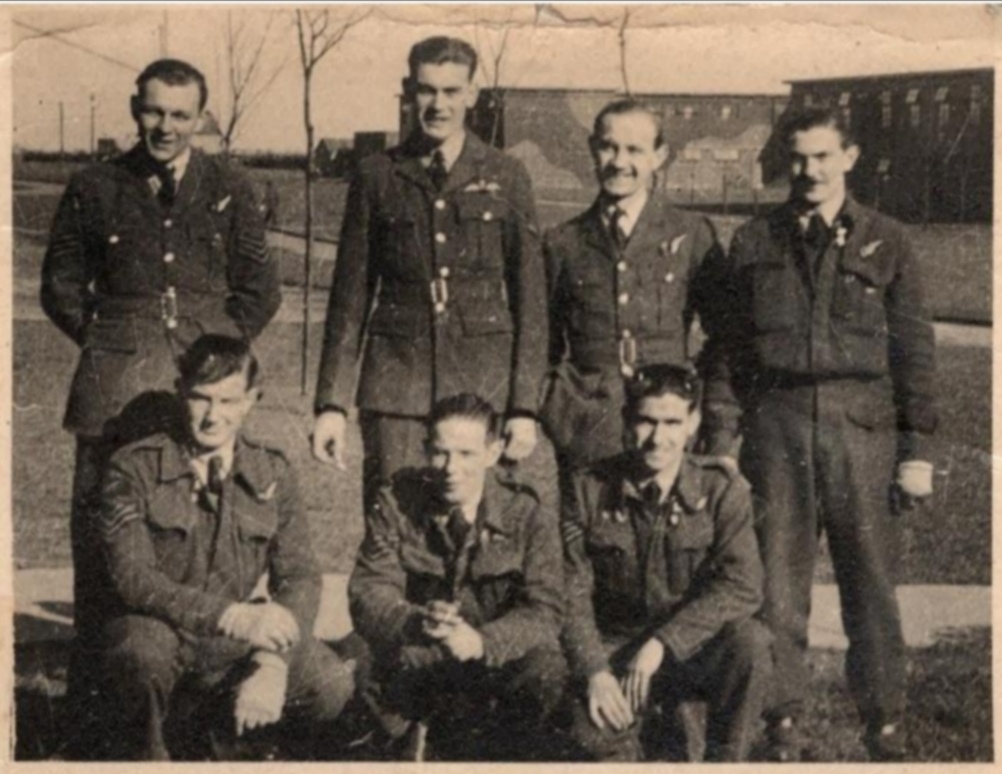
W/O Lloyd crew, RAF Hemswell, February 1944 Same photo as left (slightly better resolution): Back row L-R: Sgt T P (Terry) Burke, WO T A 'Lofty' Lloyd, F/O Eddie Yaternick, F/Sgt D M 'Steve' Stephen Front row L-R: Sgt R L G 'Jumbo' Moore, Sgt Jack Pearce, Sgt Anthony Constantine (Tony) Crilley |
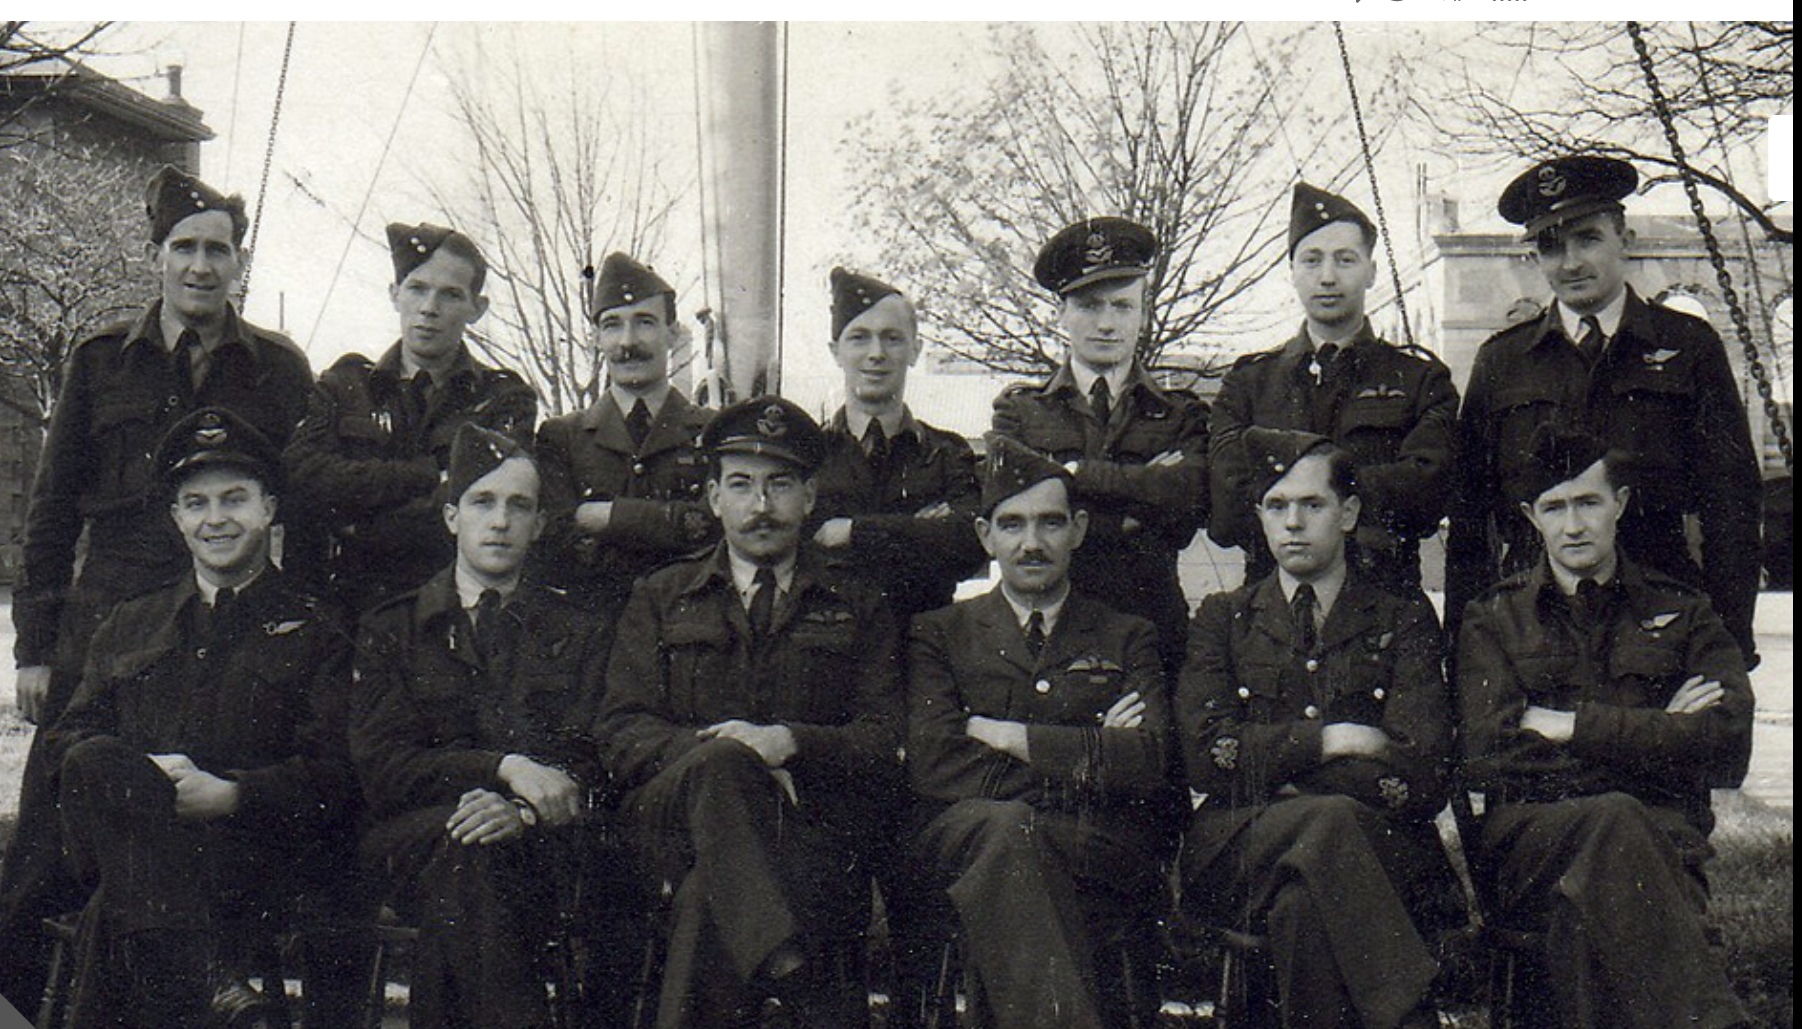
Group Photo (location not recorded) Jack Pearce, back row second from left |
Jack Pearce (escape documents)
Many thanks to the Pearce family for making these documents available (via Dave Cole).
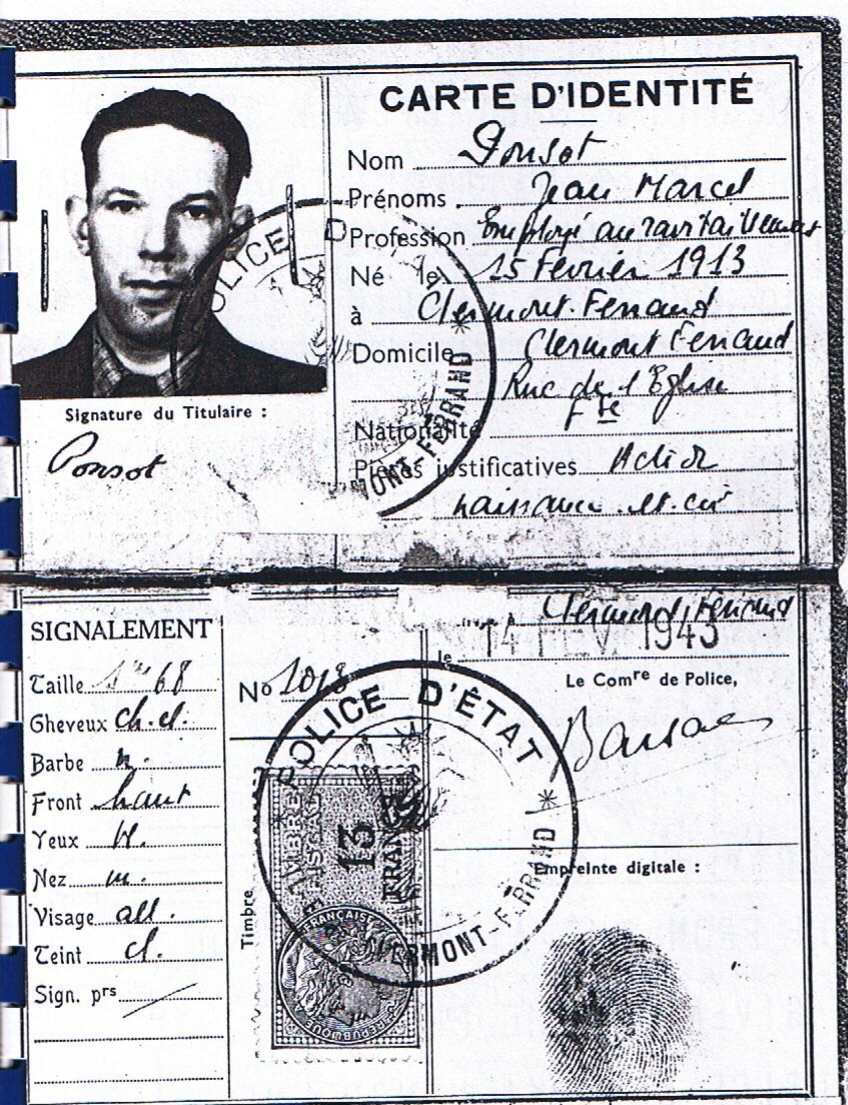
Sgt Pearce escape papers provided by the French resistance (after he bailed out from ND733 on 4th May 44) |
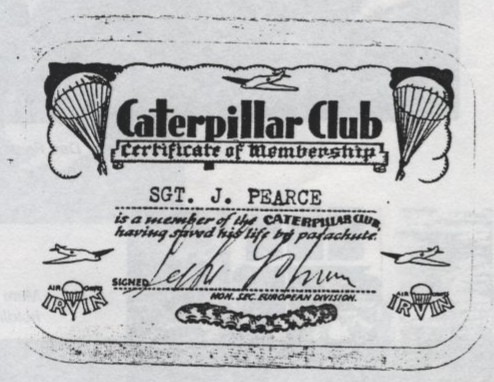
Caterpillar Club Certificate |
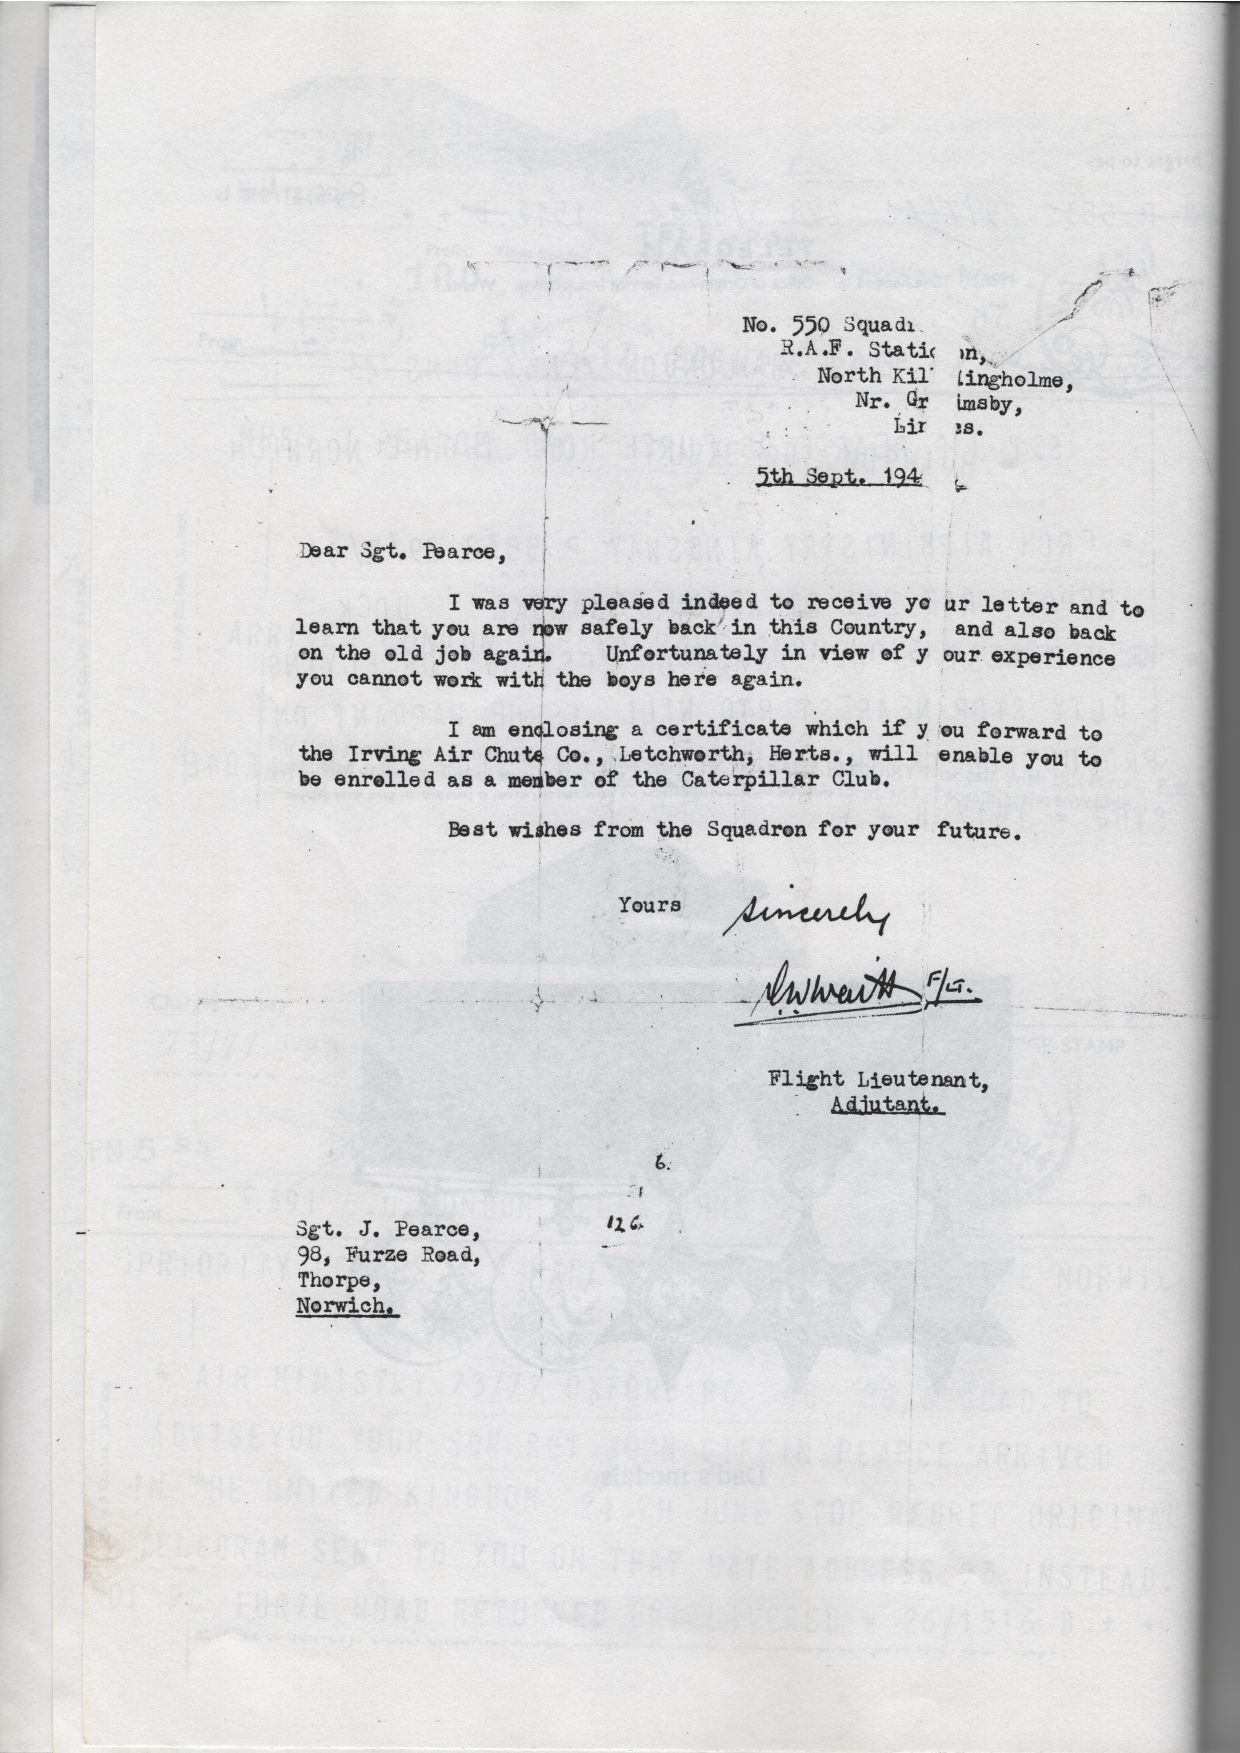
Letter to Jack Pearce from 550 Sqdn Pearce had already joined 228 Squadron before the letter was sent |

Telegram 04/05/1944, Missing |
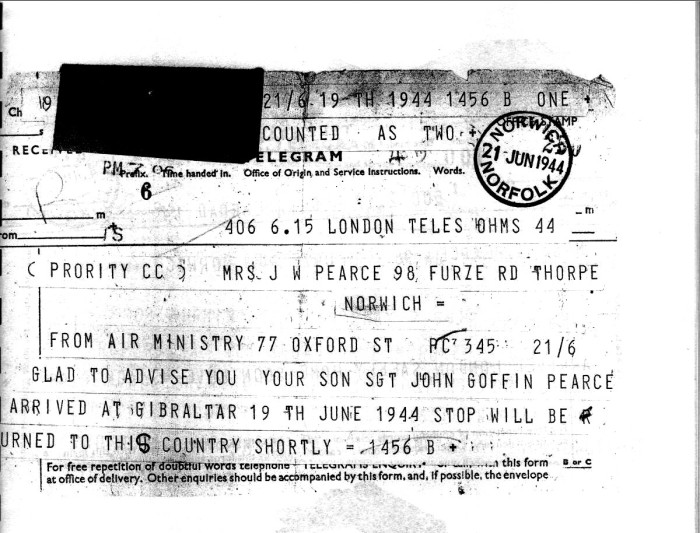
Telegram 21/06/1944, Found |
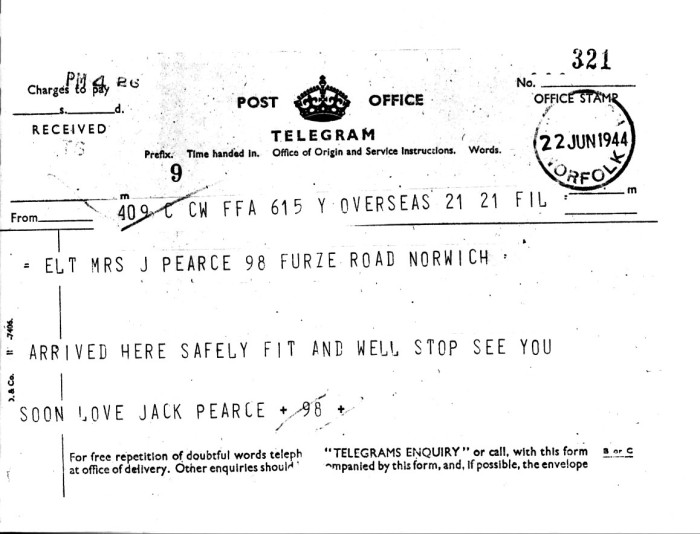
Telegram 22/06/1944, Safe |
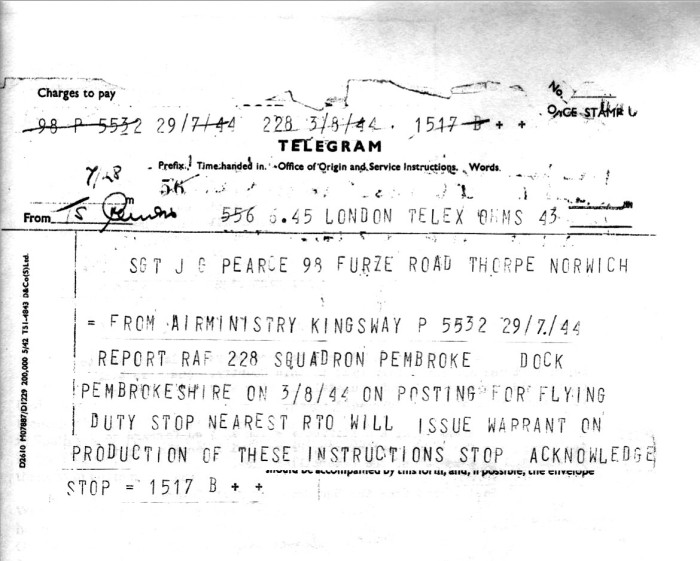
Telegram 29/07/1944, transfer to 228 Sqdn |
Station Narratives No. 4 and 5
These two narratives, included in the Station Operational Record Book, describe the Mailly raid of 3/4 May 1944 and what this crew experienced after the aircraft had been hit by flak. As a result of the action, and as described in the narratives and de-briefing report, three of the crew (as identified above) baled out on instructions from the pilot. Thereafter, having regained control, the pilot got the aircraft and the remaining crew members safely back to base.
Information about 550 battle order for the Mailly raid available here.
Information specifically about this aircraft and the target available here.
According to an online resource the following details are known about the two PoWs, and in addition the Squadron ORB has information on the third crew-man who baled out and evaded capture:
- Sgt Crilly
Camp 357, PoW number: 3844: see here for details. - F/O Yaternick
Camp L3, PoW number: 5130: see here for details. - Sgt Pearce
Entry in Association Newsletter #4 (December 1993) stated he returned to the UK July 1944
The 12th July ORB entry states: "A signal was received from Air Ministry stating that Sergeant J G Pearce had arrived in the UK. This N.C.O. is one of three ordered to bale out whilst over enemy occupied territory when F/S Lloyd's aircraft got in difficulties whilst returning from Mailly on the 4th May."
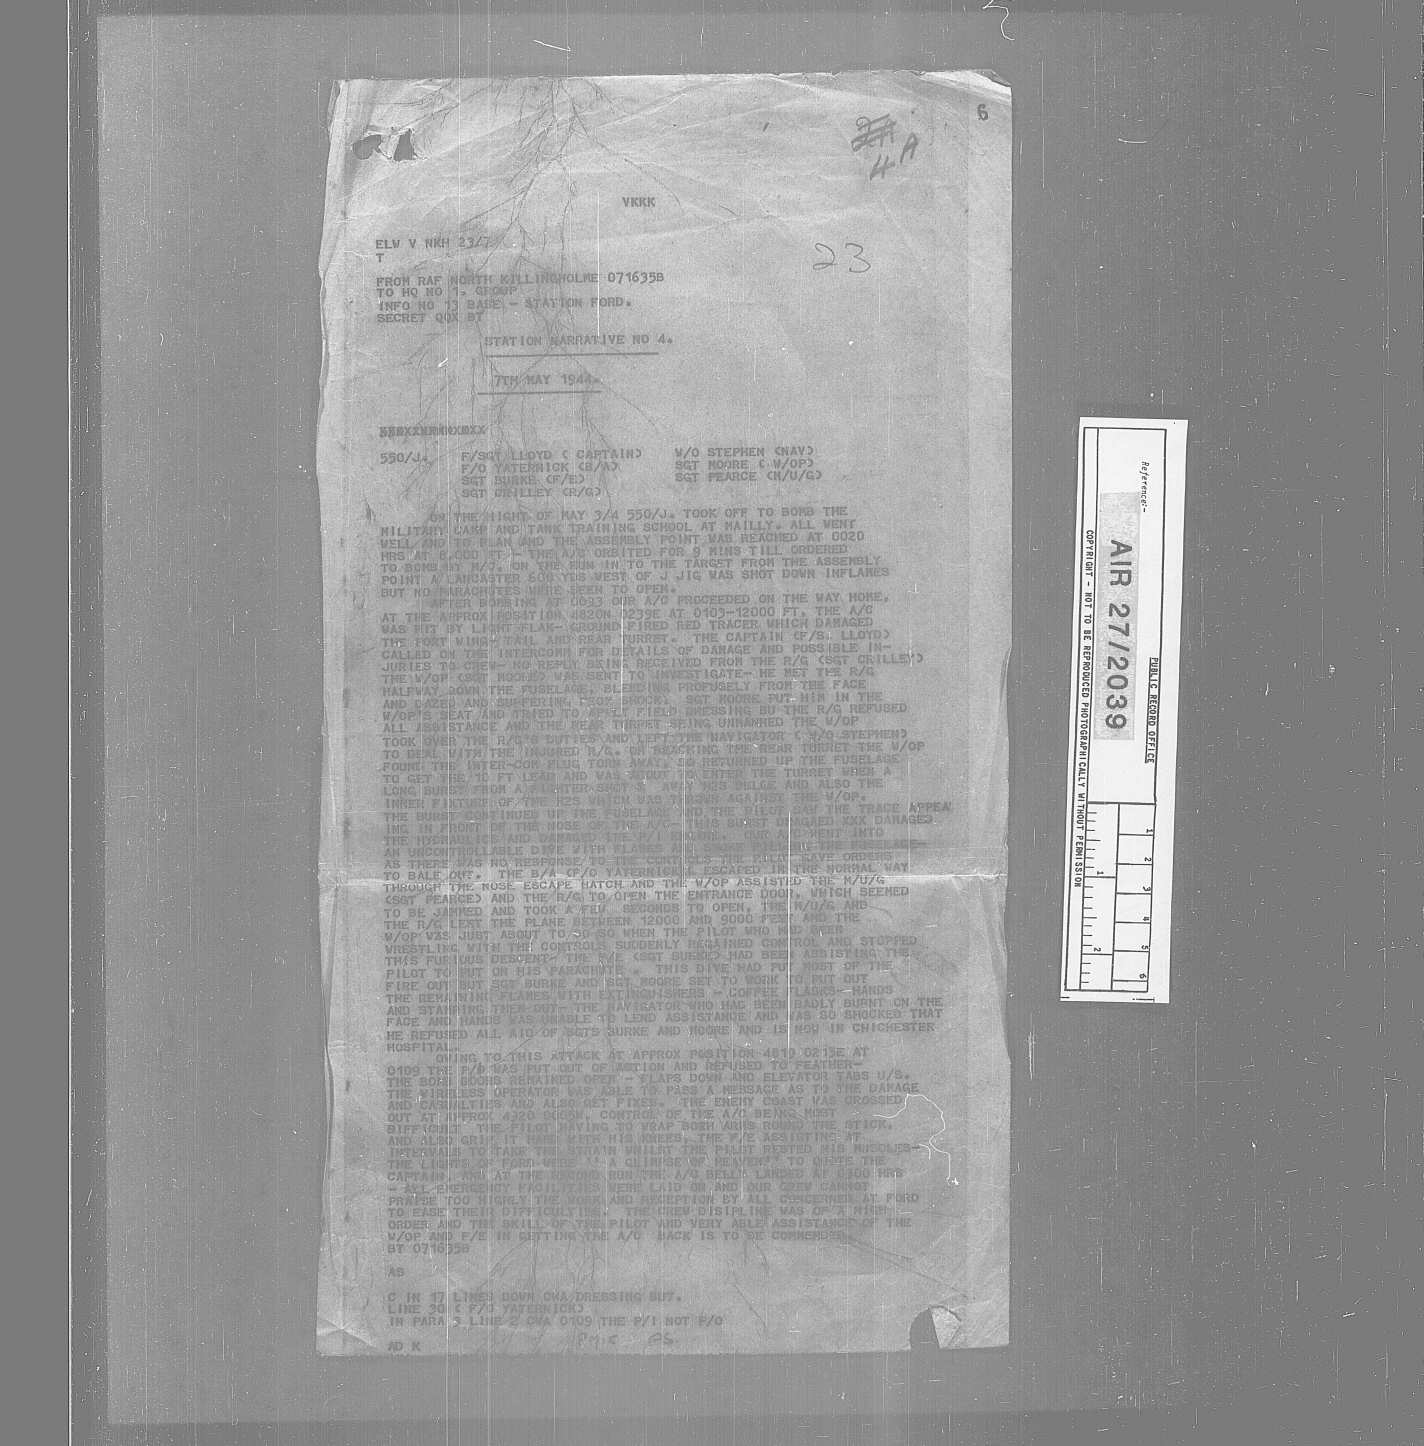
Lloyd crew, Mailly 3/4 May 1944 |
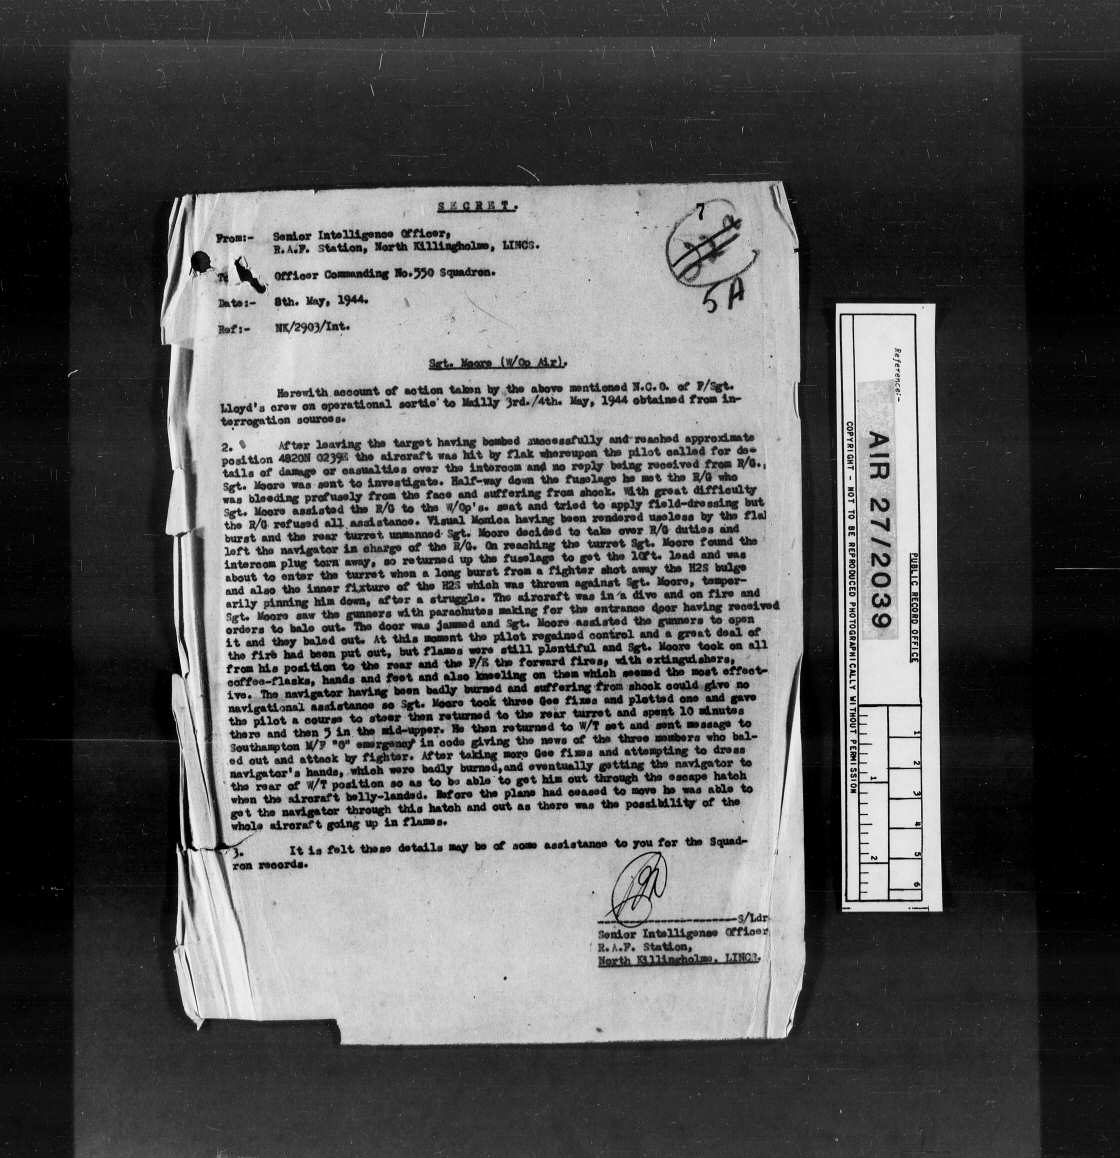
Interrogation of Sgt Moore (W/Op, F/Sgt Lloyd crew) from Mailly 3/4 May 1944, after the aircraft had been hit by flak |